Remember the sheer, unadulterated joy of plunging into a sea of colorful plastic balls? For many of us, those memories are intertwined with the brightly colored play areas of our favorite fast food restaurants. But as times have changed, those iconic ball pits have become a rarer sight. Whether it’s for hygiene concerns or space limitations, the opportunity for a spontaneous dive into a mountain of fun seems to have dwindled.
Fear not, fellow fun-seekers! The magic of the ball pit doesn’t have to be relegated to nostalgic memories. Here are three fantastic ways you can recreate that joyous experience right in the comfort of your own living room!
- The Ball Pit Void is Real: Remember the joy? Discover why those fast-food favorites are fading and how to recapture the magic at home.
- DIY Your Dive: From no-tools-needed to weekend projects, find the perfect method to build a personalized ball pit paradise.
- Beyond the Balls: Unlock creative repurposing secrets and explore ready-made solutions for instant playtime bliss!
Logistics: How Many Balls Do You Need?
While there’s no magic number, a good rule of thumb is to aim for a depth that allows for some immersion without being overwhelming.
So, you’re ready to build your at-home ball pit! A common question is, “How many balls do I even need?” While there’s no magic number, a good rule of thumb is to aim for a depth that allows for some immersion without being overwhelming.
- For a smaller DIY pit (think a large laundry hamper or a small playpen), 100-200 balls can be a good starting point.
- For a medium-sized kiddie pool or a larger cardboard box creation, you’ll likely want 300-500 balls.
- If you’re going all out with a larger inflatable pool, you might need 700-1000 or more.
Consider the age and size of the users – younger children might be happy with a shallower pit, while older kids might enjoy a deeper dive. You can always start with fewer and add more as needed!
Fantastic! Let’s get those three DIY ball pit methods down on paper for your readers:
1. DIY Delight (From Simple to Skilled)
Want to get hands-on and truly customize your ball pit experience? The “DIY Delight” method offers options for every skill level and time commitment.
The No-Tools-Needed Approach: Couch Cushion Kingdom
For a super quick and easy ball pit that requires zero construction, look no further than your own living room furniture! Simply push your couch and armchairs together to create an enclosed space. Line the bottom with a soft blanket or a playmat for extra comfort and to protect your furniture. This method is fantastic for spontaneous playtime and uses what you already have. The size and shape are easily adaptable to your space. Just toss in your chosen balls, and voilà – instant ball pit fun! Remember to supervise younger children closely to ensure they don’t try to climb over the furniture.
The Cardboard Creation Station:
Got some large cardboard boxes lying around (think appliance boxes or moving boxes)? You’ve got the foundation for a fantastic, customizable ball pit! This option allows for more creativity in terms of size and shape. You can tape multiple boxes together to create a larger play area. Get the kids involved in decorating the outside with markers, paint, or colorful tape to personalize their ball pit. For added durability and comfort, consider lining the inside with an old blanket or a layer of cardboard padding. This is a great way to repurpose materials and unleash some artistic energy!
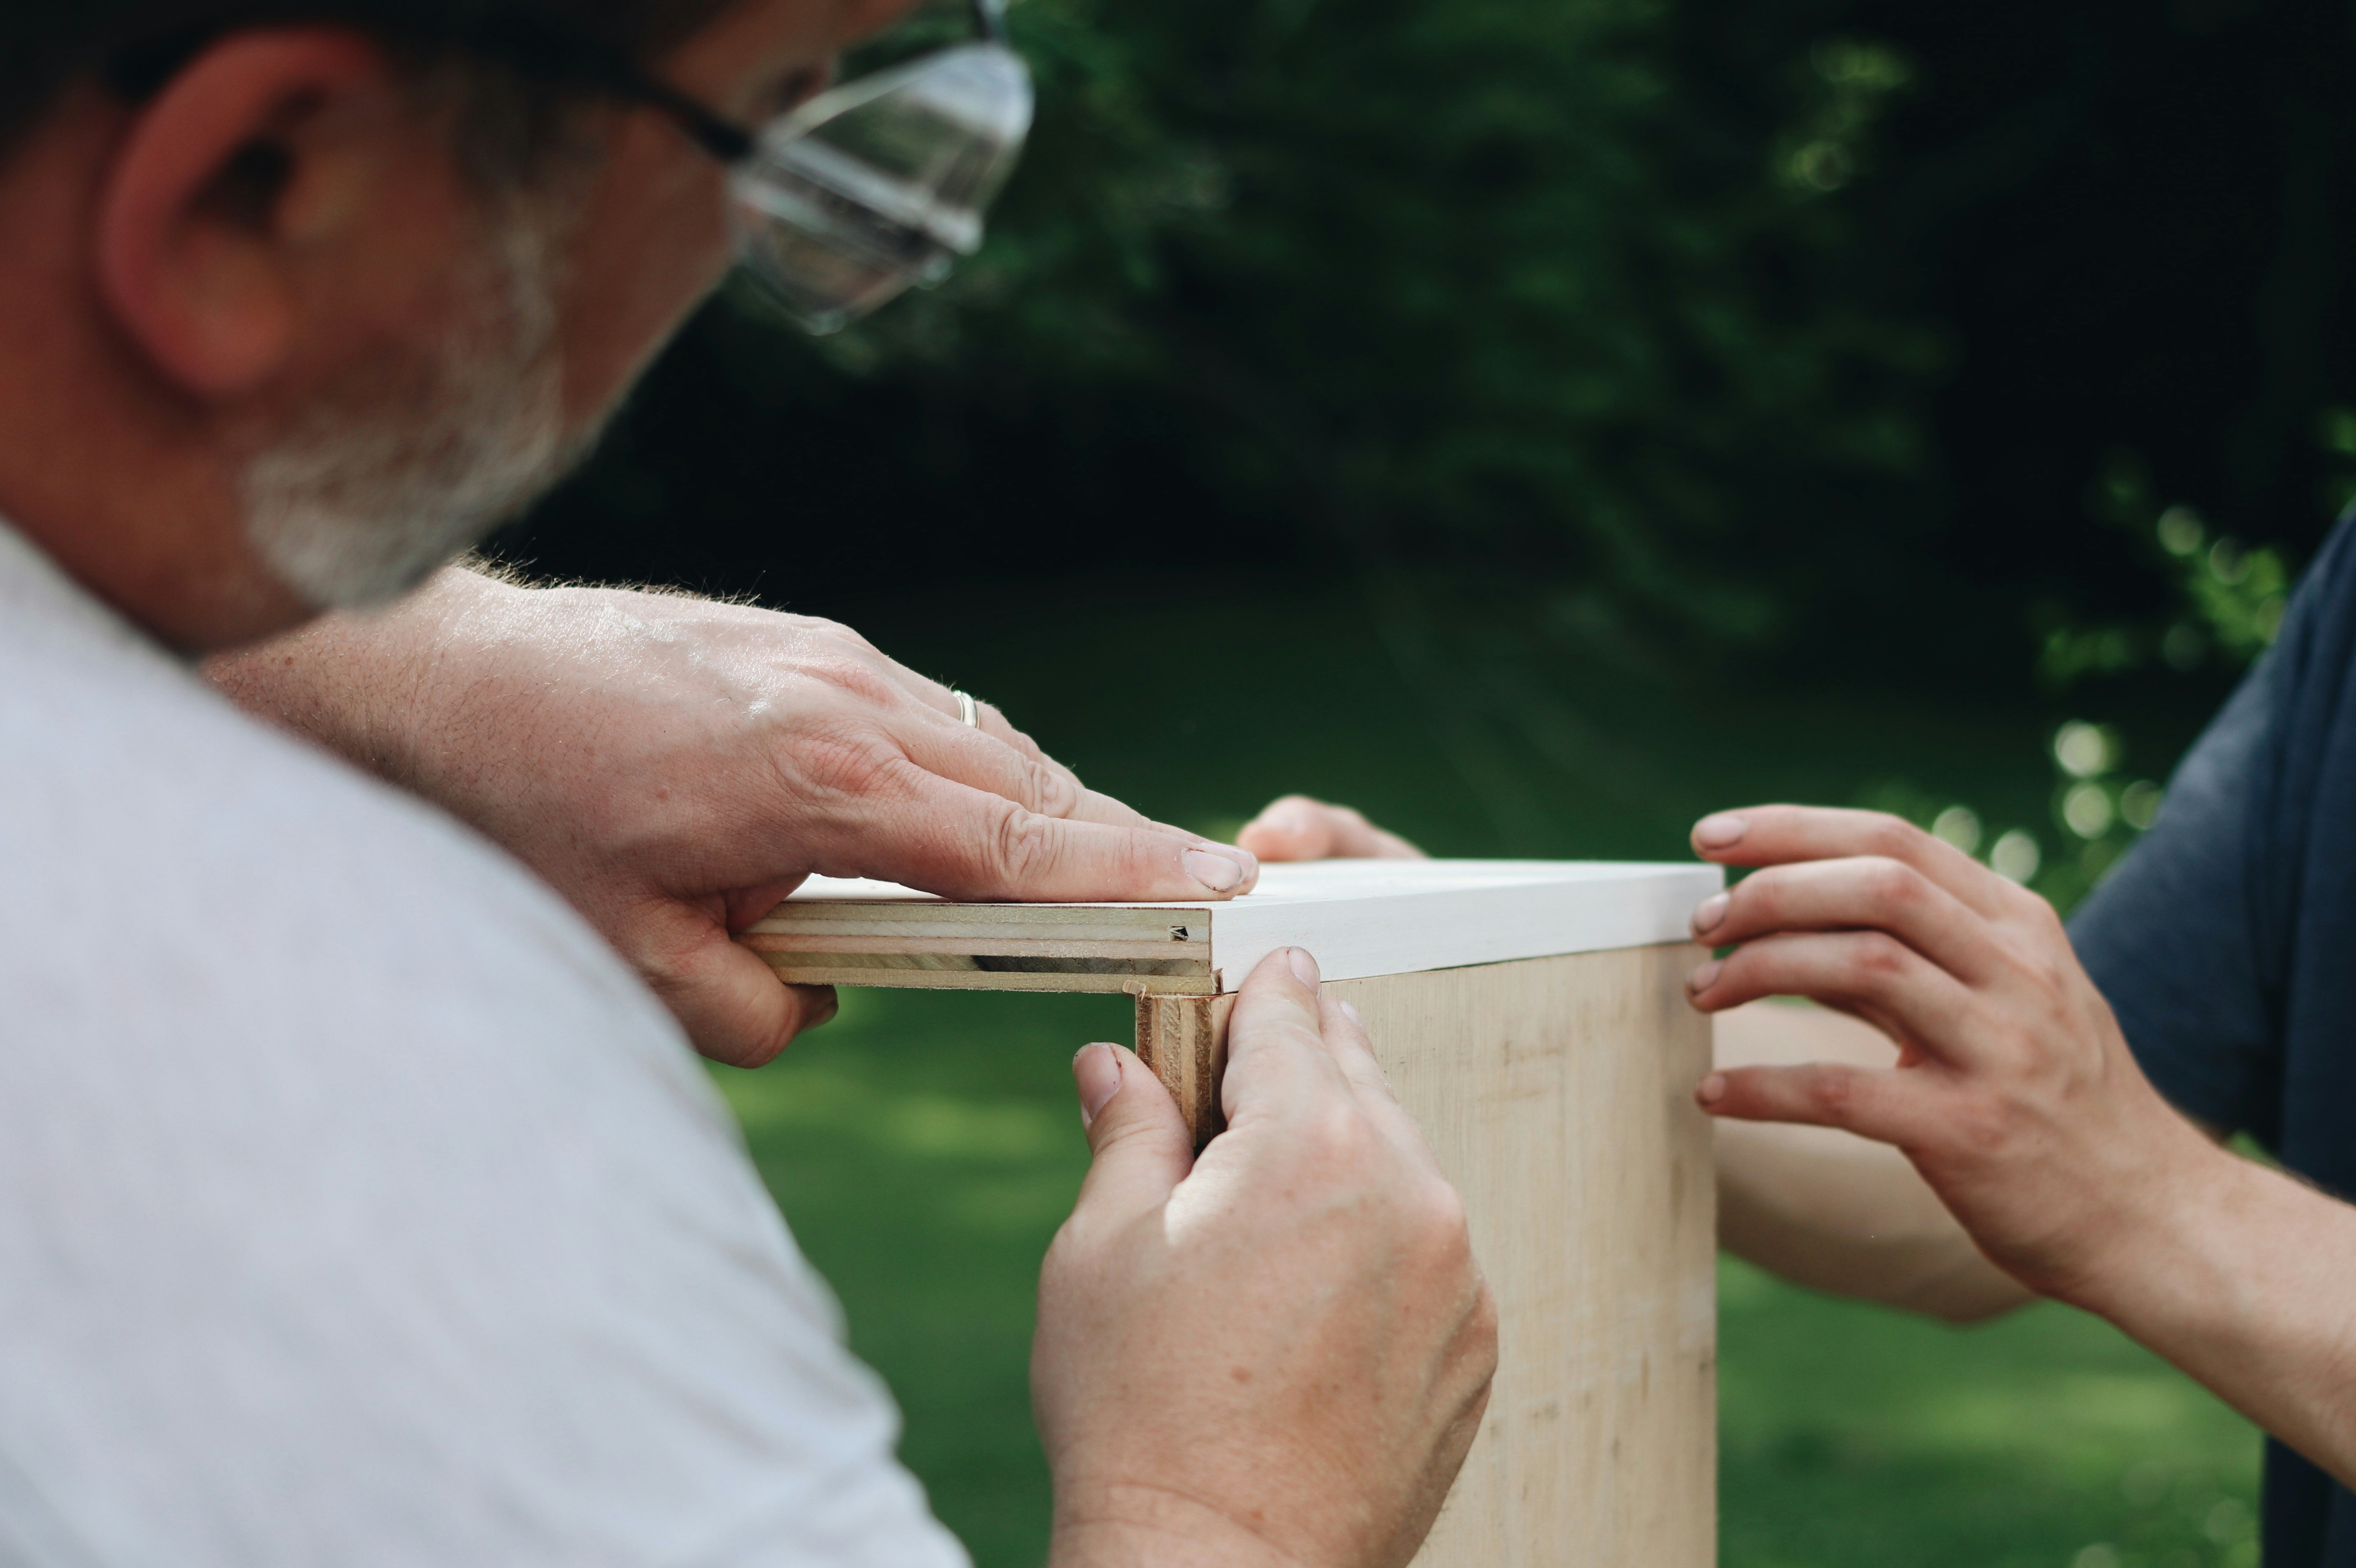
The Weekend Woodworking Project (Adults Only!):
For the more ambitious DIYer, building a simple wooden frame can create a sturdy and long-lasting ball pit. You can use lightweight lumber and basic tools to construct a rectangular or square frame to your desired dimensions. Ensure all edges are smooth and secure. You can then line the inside with a durable fabric or plastic sheeting, stapling it securely to the frame. This option offers the most customization in terms of size and can be a more permanent addition to a playroom. Remember to prioritize safety and ensure all construction is sound and free of sharp edges or splinters.
2. Creative Repurposing: Turning the Ordinary into Playtime Gold
Why buy new when you can give an existing item a fun new purpose? This method is all about thinking outside the box (pun intended!) and transforming everyday objects into exciting ball pit havens.
The Kiddie Pool Classic:
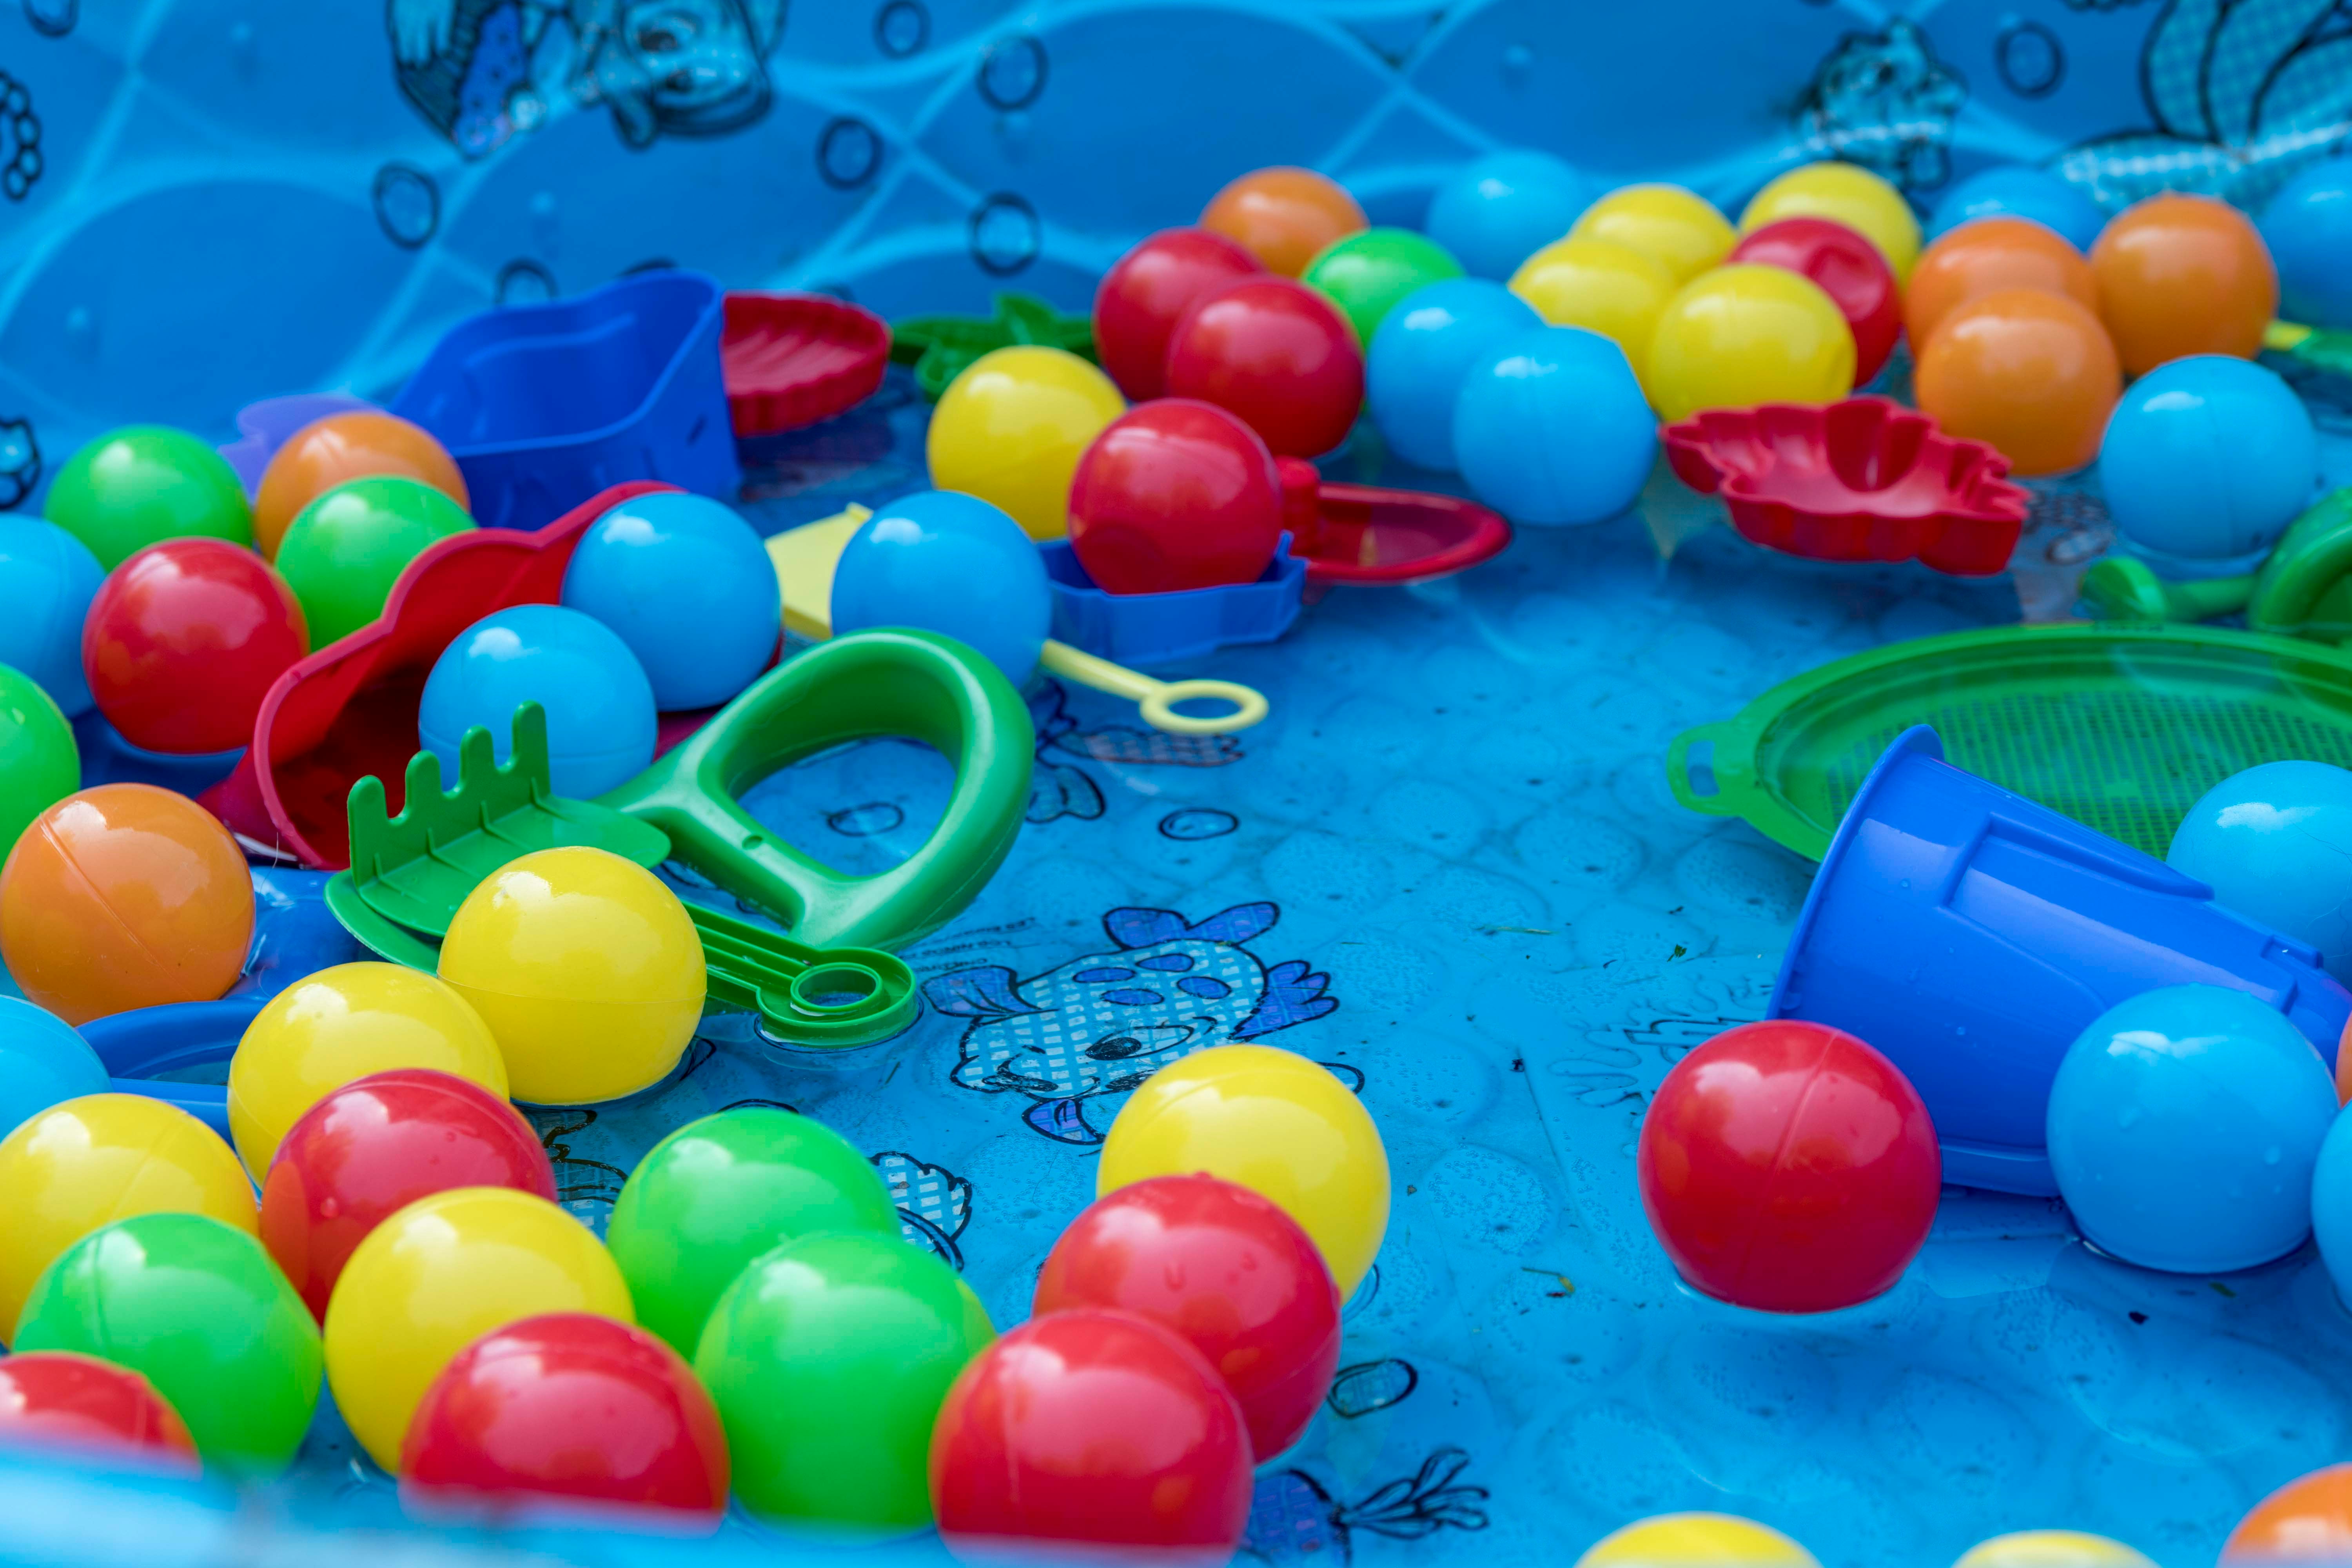
The inflatable or hard plastic kiddie pool is a quintessential choice for a repurposed ball pit, especially as summer approaches. Its raised edges naturally contain the balls, and it comes in various sizes to suit different spaces. Inflatable pools are lightweight and easy to store when not in use, while hard plastic pools offer more durability. Simply inflate (if applicable), place it on a soft surface, and fill it with balls for instant fun. This option is also great for taking the fun outdoors on a nice day (just ensure the balls are clean before bringing them back inside!).
Laundry Hamper Lagoon:
Got a few large, sturdy pop-up laundry hampers? Group them together to create a segmented or connected ball pit area. This is a particularly good option for smaller spaces or for creating individual “zones” within the ball pit. The mesh sides allow for visibility, and they are incredibly lightweight and portable. You can easily rearrange them or fold them away for storage. This method is simple, requires no setup, and utilizes items you likely already have.
Cardboard Tube Kingdom:
Collect large cardboard tubes (like those from wrapping paper or fabric rolls). You can tape them together in various configurations to create tunnels and enclosures within a larger repurposed container like a kiddie pool or a sectioned-off area. This adds an extra element of exploration and imaginative play to the ball pit experience. Secure the tubes well with strong tape to prevent them from collapsing.
3. Ready-Made Fun: Instant Ball Pit Bliss
For those who prefer convenience and a quick setup, there are a variety of purpose-built ball pits available online. These often come with additional features and are designed specifically for playtime.
Pop-Up Playpens with Ball Pit Conversion:
Many pop-up playpens designed for babies and toddlers can easily be transformed into instant ball pits. They often have mesh sides for visibility and come in various sizes and shapes. Some even include tunnels or other interactive elements. These are typically easy to set up and fold down for storage, making them a great option for smaller homes or for those who want a portable ball pit.
Inflatable Ball Pits with Themes:
You can find inflatable ball pits designed specifically for this purpose, often featuring fun themes like castles, animals, or vehicles. These usually have soft, inflatable sides for safety and can be a visually exciting addition to a playroom. They are generally easy to inflate and deflate for storage.
Soft Play Structures with Integrated Ball Pits:
For a more substantial investment, consider soft play structures that include a built-in ball pit area. These can range from small climbers with a ball pit at the base to larger, more elaborate play centers. These offer a more comprehensive play experience and are ideal for dedicated playrooms.
There you have it – three distinct ways to bring the ball pit magic back into your home! Which method will you choose to create your own splash of colorful fun?
Conclusion: Keep it Clean for Maximum Fun!
Once your personal ball pit paradise is assembled, remember that hygiene is key to keeping the fun going. Just like those public ball pits of yesteryear, your at-home version can accumulate germs over time. To keep things fresh and safe, consider periodically misting the balls with a diluted disinfectant solution or a very diluted bleach solution (ensure proper ventilation and allow them to dry completely before playtime resumes). A simple spray bottle can be your best friend in maintaining a clean and enjoyable ball pit experience for everyone. Now go forth and dive into fun!